![]()

![]()
I purchased this engine from a gentleman that lived in Florida. He assured me the engine was running and had no issues except it was at TBO. He said that he had just flown behind it that morning. So I asked if he had the logs and if they came with it. He gave me the old story that he would try and dig them up. I asked for pictures and copies of the log books. I got the pictures and scanned copy's of a log book. I decided to write the check and have the engine shipped up to Michigan. When I picked it up at the airport it was fully crated. A hi-low loaded it up in the back of the truck and I drove home. I began opening the crate and everything looked just like the pictures he had sent. Within an hour I had it on the engine stand and began removing the engine oil screen from the accessory case. The second I looked at what was inside I knew I was going to have problems. As I began to disassemble more and more of the engine I realized that this motor had been run way beyond TBO. This engine was ready to come apart. I called the seller up and we had a few words. I exchanged some pictures of what I found and he offered to take it back off my hands. That is if I re-assembled the engine, crated it and paid shipping back to Florida. Problem was he was only going to give me back half of the purchase price. So, as you'll see, I kept the engine and made do with what I had purchased. This is what you run into when you purchase things from people 1000 miles away.

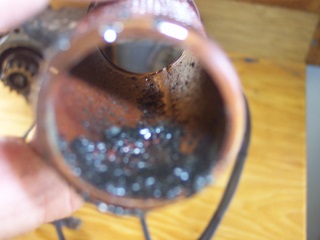

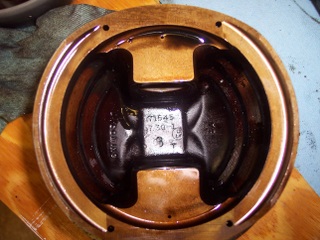
The engine oil screen was packed with metal and foreign debris. It was a mess.
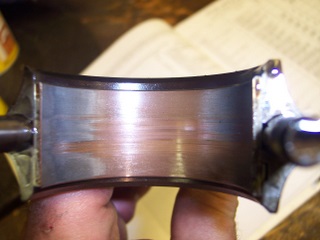
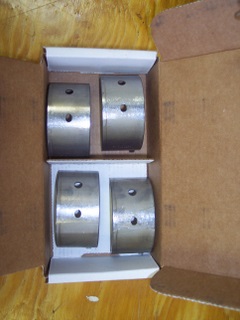
All the bearings were shot. Even the crankshaft rod journal had a crack from excess heat.
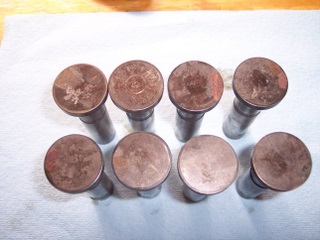
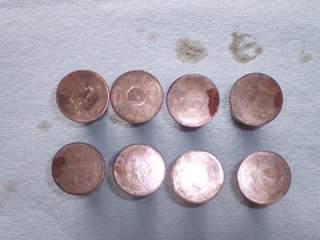
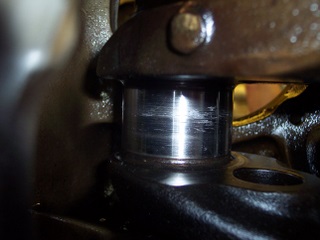
As you can see the lifters were trashed, pitted and cracked deep into the face. That explained the rounded cam lobes.
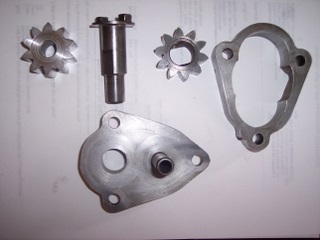
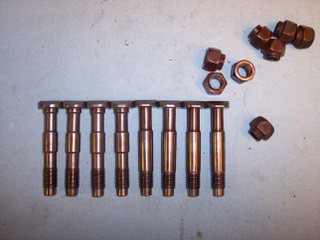
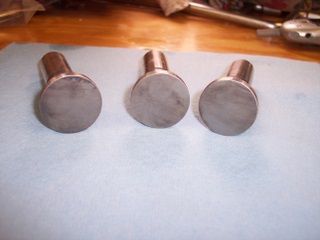
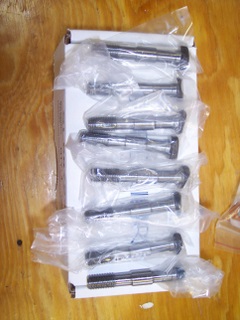
Notice the old oil pump with aluminum gears. I was told the A.D. was done years ago and it had the new one piece pump installed. Even worse, notice the rod bolts (shank thickness). I found two different kinds mixed in amongst the rods.
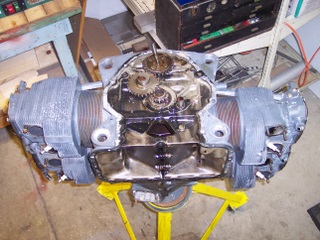
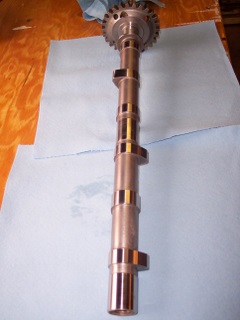
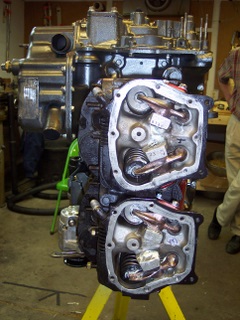
The original cylinders were in bad shape. All needed new valve guides and seats. In addition I needed all new exhaust valves & keepers. Springs tested good and bores were in excellent shape. They were chrome and just needed a re-hone. The cam was old, warn and had the narrow lobe design. I replaced it with a performance cam!
You never know what your getting when you purchase a "run-out" engine. My advice, plan for the worst, nothing salvageable but the case and oil pan. Owners don't have a clue what they have unless they actually worked on the engine. They go by the logs and what the mechanic tells them. Not to mention that this industry has a tendency to attract dishonest individuals due to the large sums of money involved in the purchase and or sale of aviation parts and or equipment. Whenever possible ask to see it run before writing a check!
All the new parts that went
into the engine
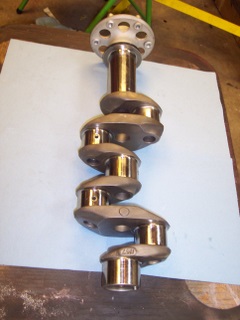


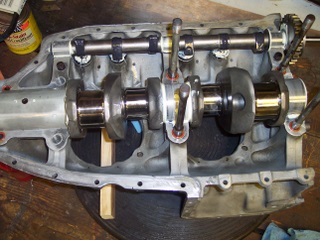
The new crankshaft and re-bushed rods were the first things to settle in the case halves. I balanced the rods to within 1 gram each. I did the same with the pistons. All parts were weighed on a digital gram scale and assembled to balance out each other. This time consuming task paid off as my engine is smooth as an electric motor.
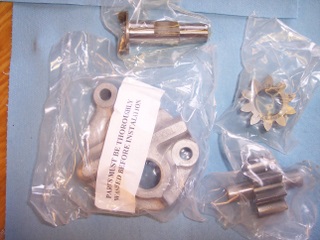
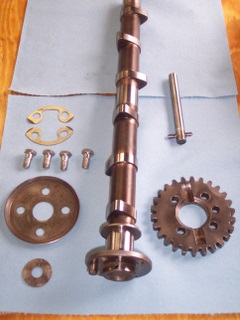
New single piece oil pump, crankshaft and cam with rods and 3 of 8 new lifter bodies
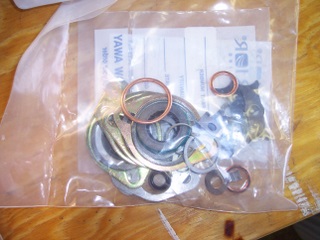
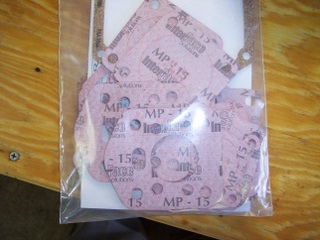
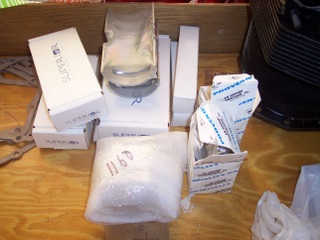
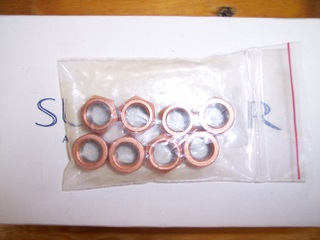
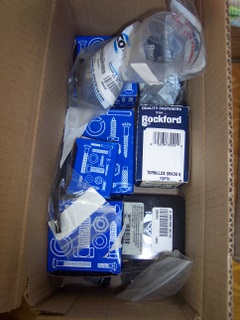
All the standard stuff, seals, gaskets, wrist pins, rod nuts and bolts, bearings, new hardware, etc...
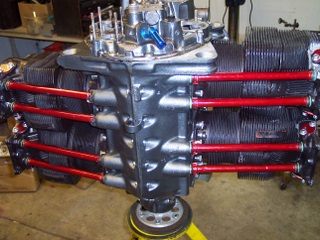
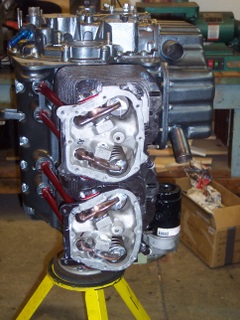

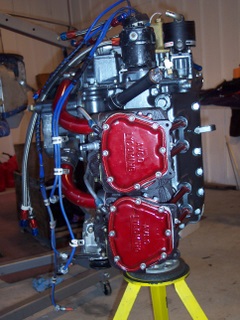
This engine was a lot of work but well worth the effort. I ended up replacing all the wrist pins, bearings, accessory case gears to include crank gear. All new rod bolts & nuts, camshaft and lifter assemblies. I also replaced all the cylinder hold down nuts and engine case halve hardware. The crankshaft was a big dollar hit along with the cylinders and new 8.9-1 domed pistons. I did all the labor and ended up with about 9 grand in parts. That doesn't include the mini race alternator, electronic ignition, slick magneto, 90 degree oil filter, flyweight starter or overhaul of the MA4 carburetor slung under the oil pan. Cylinders are off a Lycoming 480 military engine. They're angle valve and breath very good. The combination of ram air induction with a special camshaft makes a difference! I'm swinging a Hertzler 72 x 82 pitch prop designed for a 360. I have no problem spinning it up to 2800 when needed.
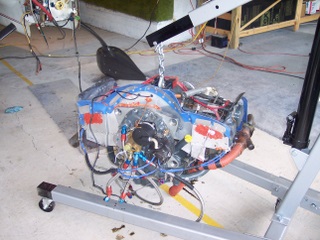

OLD ENGINE (290 D2, 135 hp) REMOVED NEW (320 B1A 170+ hp) INSTALLED
Long EZ Lycoming Engine overhaul. Lycoming worn out lifter bodies. Lycoming warn cam lobes. Lycoming damaged main and rod bearings. Lycoming warn main and rod bearings. Lycoming 0320 complete engine overhaul. Rebuilding a Lycoming 0320 engine in a Long EZ aircraft. Modifying a Lycoming 0320 engine in a Long EZ. Metal particles found in Lycoming oil screen. Long EZ 0320 engine rebuild process. Installing an 0320 engine in a Long EZ. Installing a Lycoming 0320 engine in a Long EZ. Installing high compression pistons in a Lycoming 0320. Rebuilding a modified 0320 Lycoming engine. Mini alternator installed on a Long EZ. Mini Alternator for a Lycoming engine. Mini alternator installed on a Canard aircraft. Rod bolts for a Lycoming Engine. Lycoming 0320 oil pump AD completed. Long EZ Engine overhaul story. Purchased 0320 Lycoming in Florida at TBO as a project engine. Needed new crankshaft, cam, followers and all other major parts. Installed a Lightspeed electronic ignition on a Long EZ. Installed Hal Hunt exhaust on a Long EZ Lycoming Engine. Lycoming Engine overhauled and modified by Phillip Camarda
P2 engine Install P3 Upper Cowl P4 Lower Cowl P5 SPL Parts P6 Flt Pics P7 More Pics P8 Bio Info
P9 Engine TBO P10 Tips & Tricks P11 Your uploads HOME PAGE